Table of Contents
Enabling custom sale product #
By default, custom sale product is enabled on ConnectPOS. If, however, you disabled the setting by accident, please follow these steps to enable the feature again.
Open Setting > POS Setting > Product & Category.
Find setting: Custom Sale.
Toggle “Enable Customer Sale” to “Yes” to enable the feature.
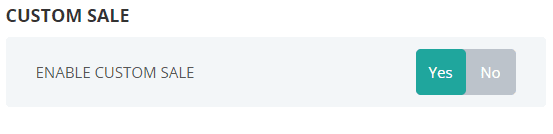
Custom Sale setting
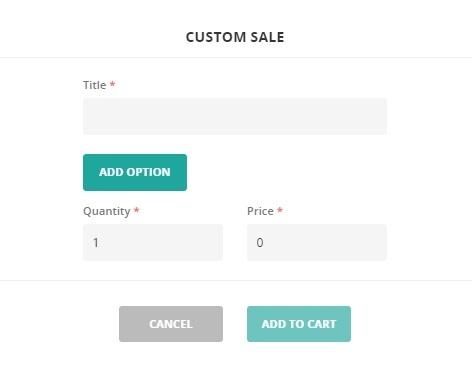
Adding custom sale product to cart #
To add a custom sale product to cart, please follow these steps:
First, make sure that the product is enabled on your POS.
Open Sell Screen.
Click on “Custom Sale” icon. The icon is on the same row as search field.

A popup will appears. Input the following information:
- Title: Custom sale product name.
- Quantity: Quantity of custom sale product to be added to cart.
- Price: Custom sale product price.
Click on “Add To Cart” to add the custom sale product to cart.