In this article, we will show you how to create new users and assign a particular role for each user in ConnectPOS.
Add New Users #
Step 1: Login to page me.connectpos.com

Step 2: Click on the User Management on the Side Menu
To create new user, click on Users.
In here, you can find users information and for store owners, you’re allowed to edit or remove current users.
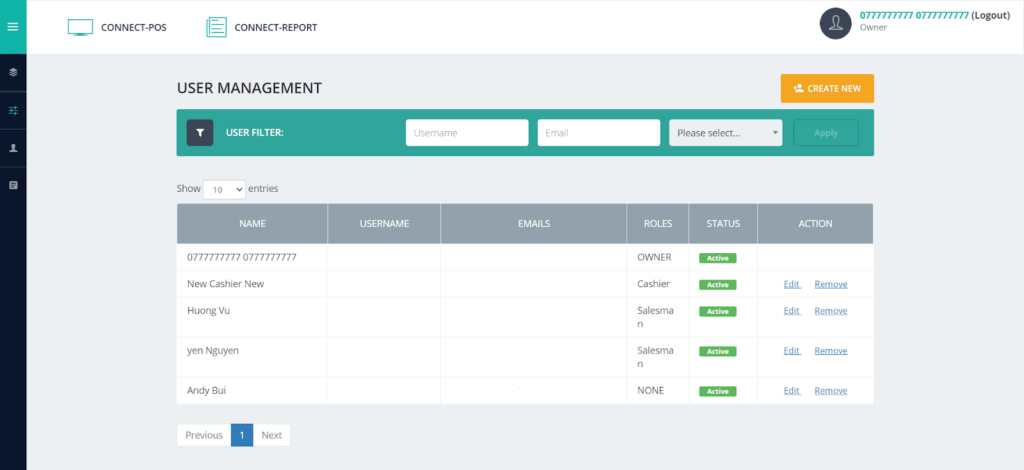
To create new users, click on Create New. Fill in the needed information, then click Save.
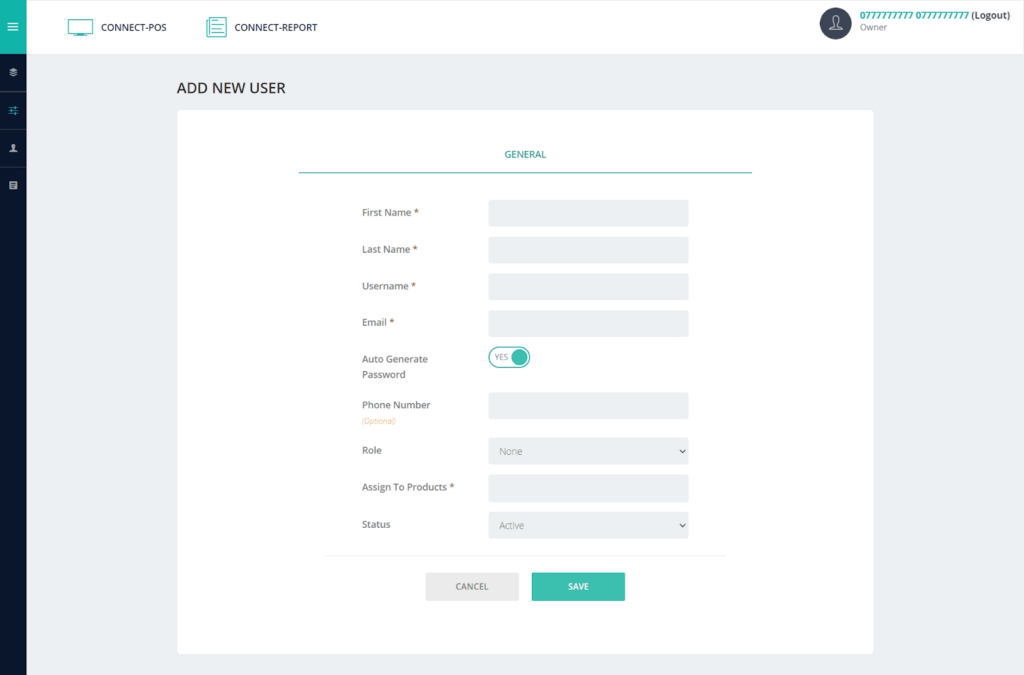
You’ve just successfully create a new user.
Add New Roles #
Step 1: Login to page me.connectpos.com
Step 2: Click on the User Management on the Side Menu
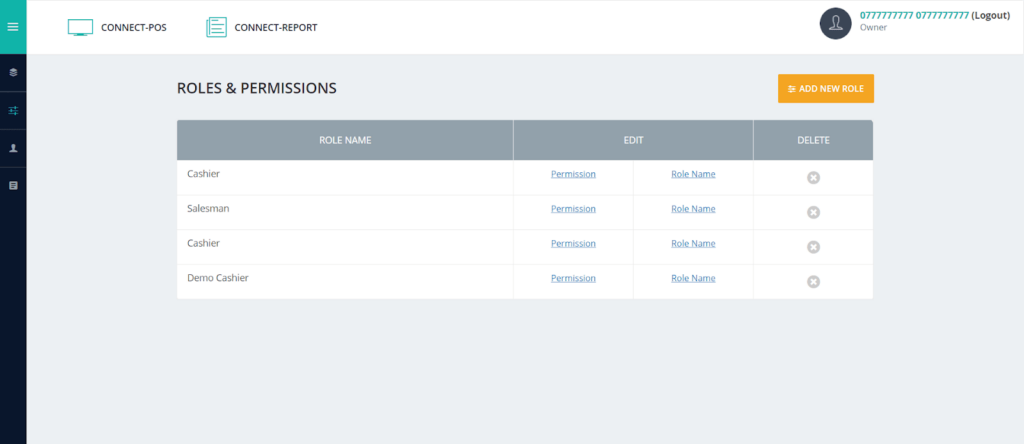
To create new role, click on Roles and Permissions.
In here, you can find information about the roles in your stores. For store owners, you’re allowed to delete unnecessary roles. There are 3 built-in roles: Store Owner, Cashier and Salesman.
To create a new role, click on Add New Role. Fill in the role’s name, then click Save.
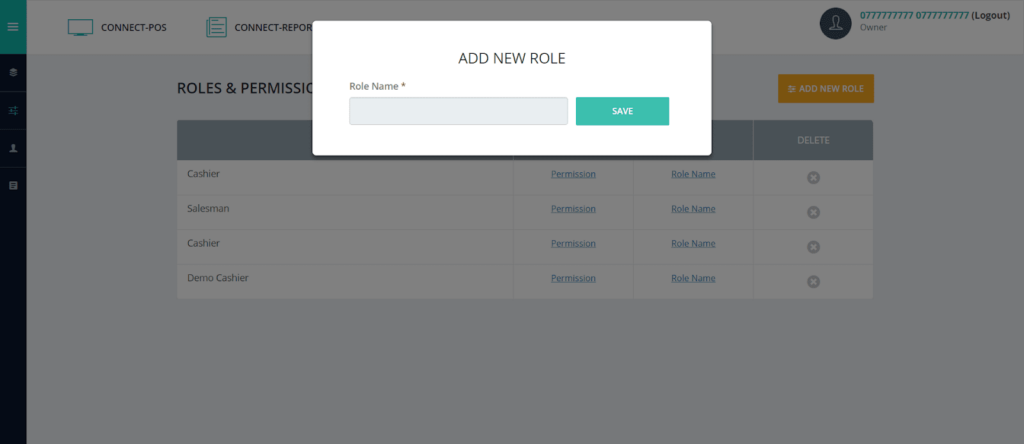
You’ve just successfully create a new role.
To change its permission, click on the Permission on the column Edit.
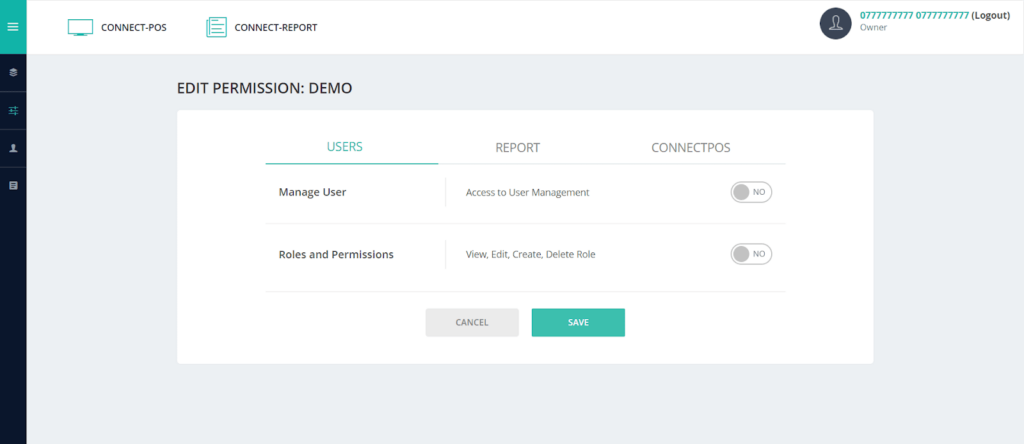
In here, you can toggle the bar to let the role have access to particular activities. When you’ve finished, click on Save.


