Note: The PWA version is applied for https://retail.connectpos.com/ site.
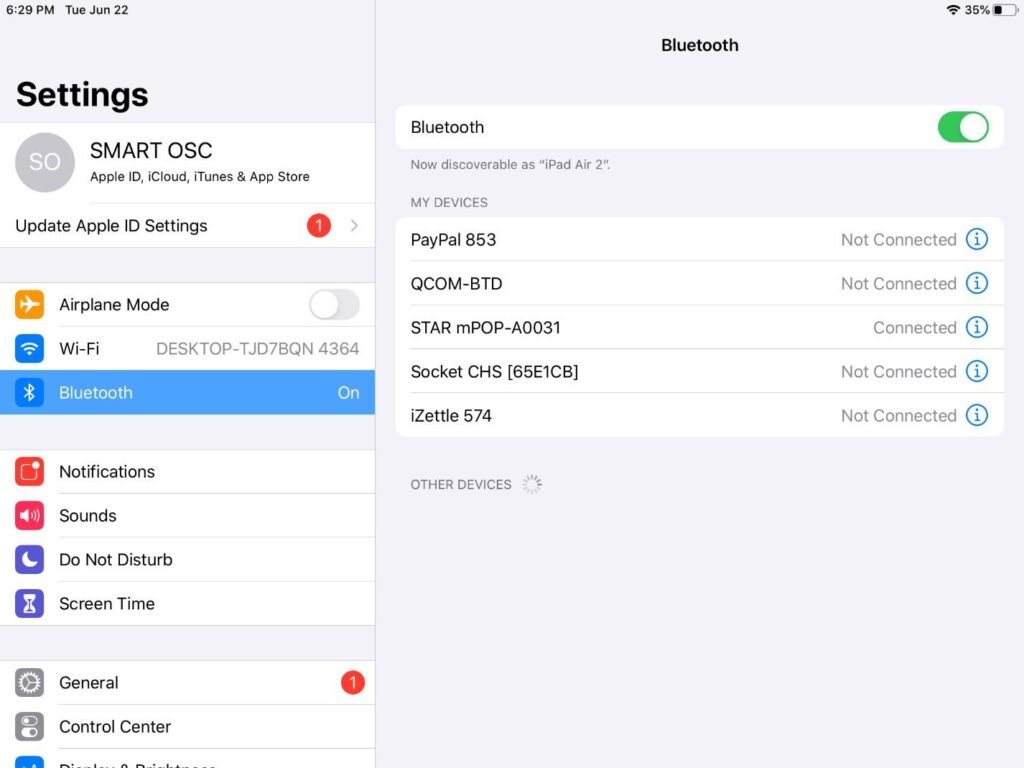
Step 1: Open your iPad’s Settings > Bluetooth and connect to the hardware.
![Connecting Star Micronics Receipt Printer And Cash Drawer For PWA Version](https://www.connectpos.com/wp-content/uploads/2023/09/image-77-1024x768.jpeg)
Step 2: Download the Connector application to your iPad here. You’ll be brought to this site.
![Connecting Star Micronics Receipt Printer And Cash Drawer For PWA Version](https://www.connectpos.com/wp-content/uploads/2023/09/image-78-1024x768.jpeg)
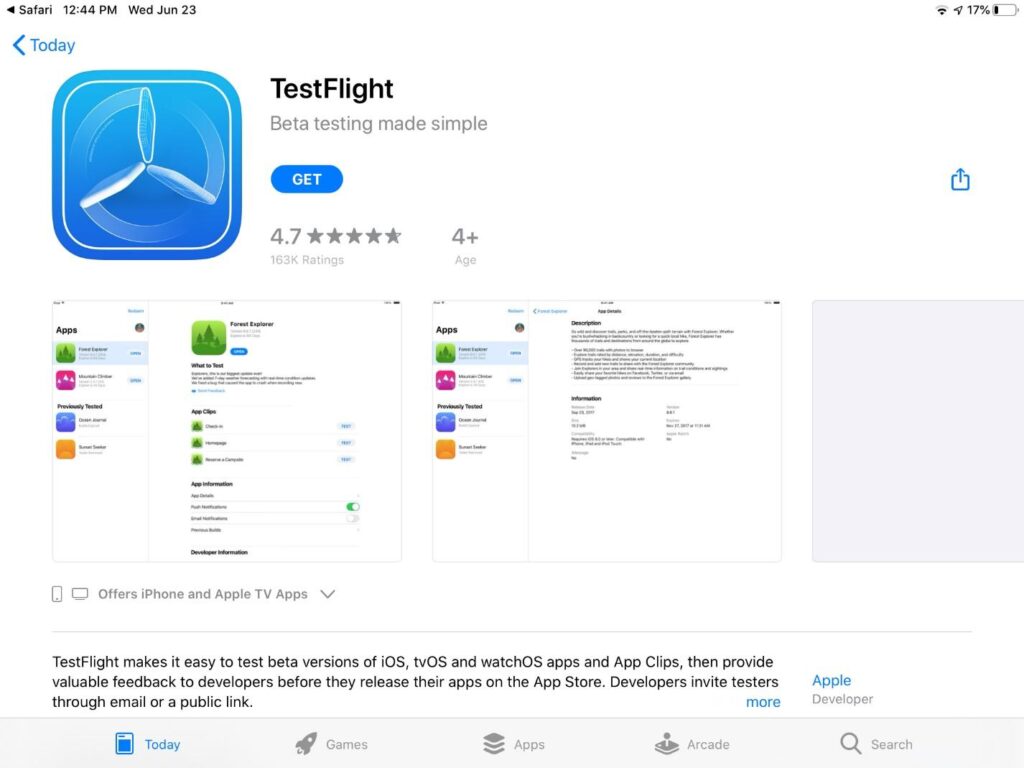
Step 3: Hit View in App Store under Step 1: Get TestFlight to download and install TestFlight.
![Connecting Star Micronics Receipt Printer And Cash Drawer For PWA Version](https://www.connectpos.com/wp-content/uploads/2023/09/image-79-1024x768.jpeg)
Step 4: Double-click Home button to go back to the previous site, and select Start Testing under Step 2: Join the Beta.
![Connecting Star Micronics Receipt Printer And Cash Drawer For PWA Version](https://www.connectpos.com/wp-content/uploads/2023/09/image-80-1024x768.jpeg)
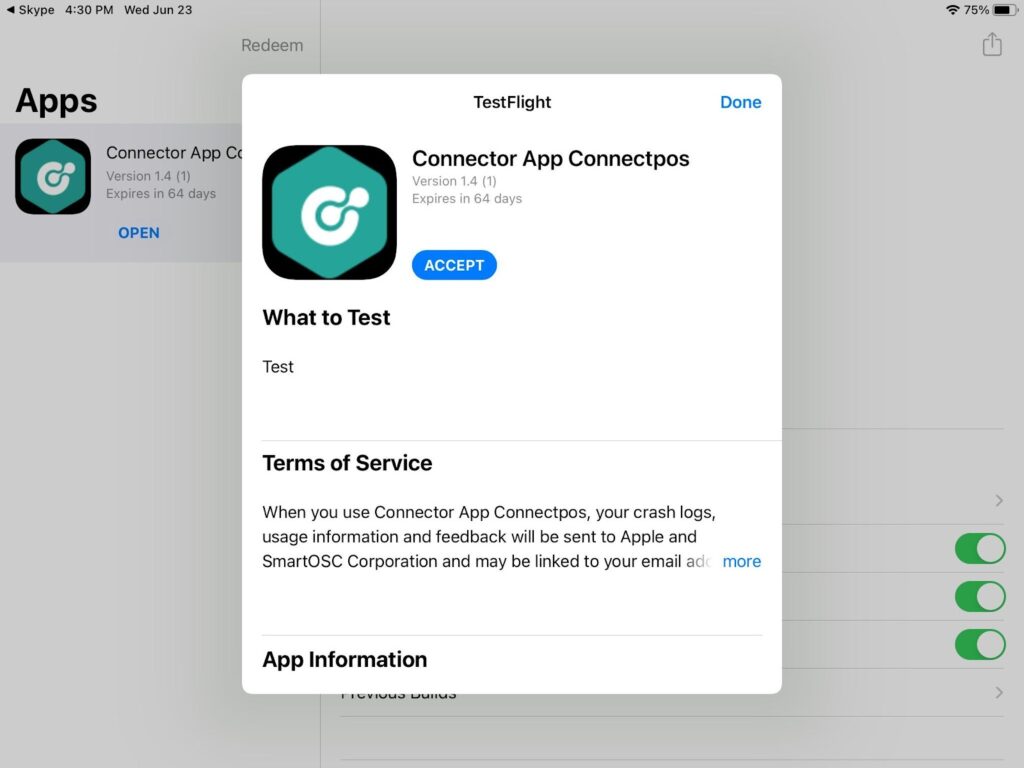
Step 5: Click Accept to open the application.
![Connecting Star Micronics Receipt Printer And Cash Drawer For PWA Version](https://www.connectpos.com/wp-content/uploads/2023/09/image-81-1024x768.jpeg)
Step 6: Be reminded of the Connector ID shown in the screen. Press Home for the application to run in background.
![Connecting Star Micronics Receipt Printer And Cash Drawer For PWA Version](https://www.connectpos.com/wp-content/uploads/2023/09/image-82-1024x768.jpeg)
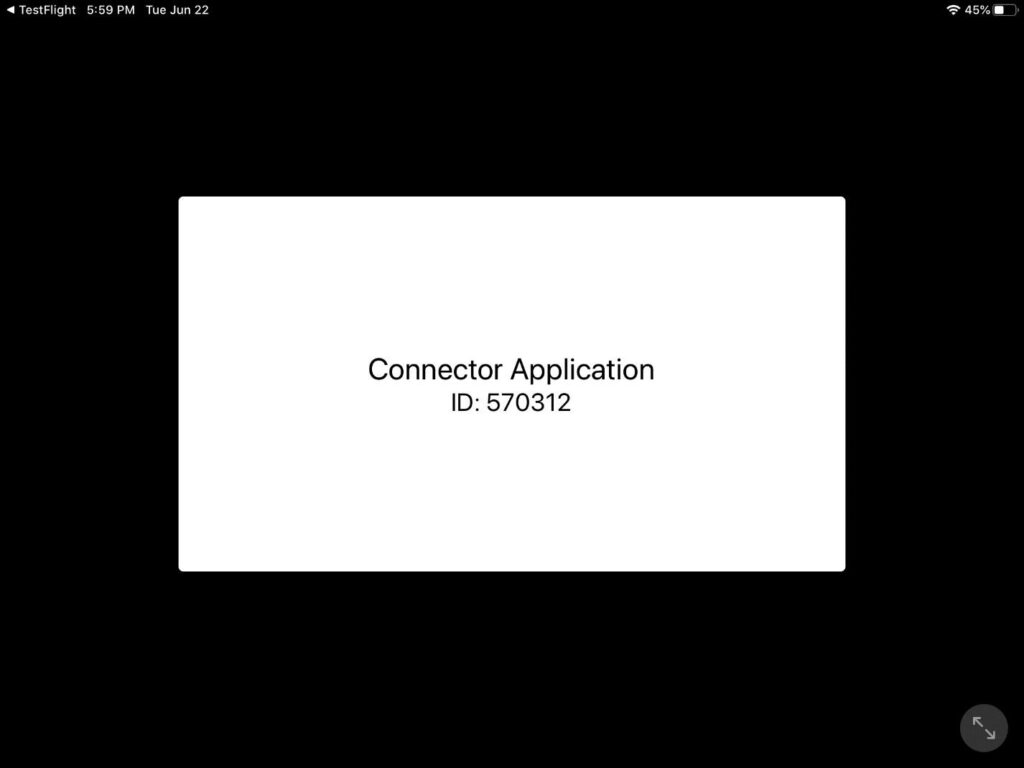
Note: Do not force close the app.
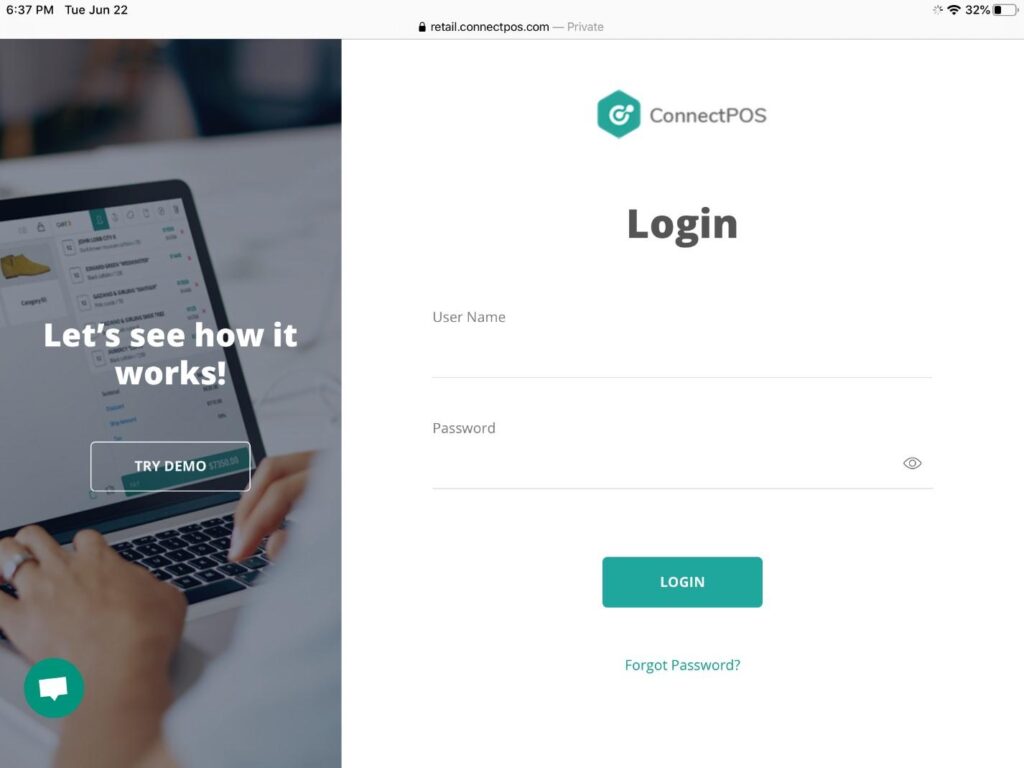
Step 7: Press Home button and access Safari with https://retail.connectpos.com/ to log in to your ConnectPOS account.
![Connecting Star Micronics Receipt Printer And Cash Drawer For PWA Version](https://www.connectpos.com/wp-content/uploads/2023/09/image-83-1024x768.jpeg)
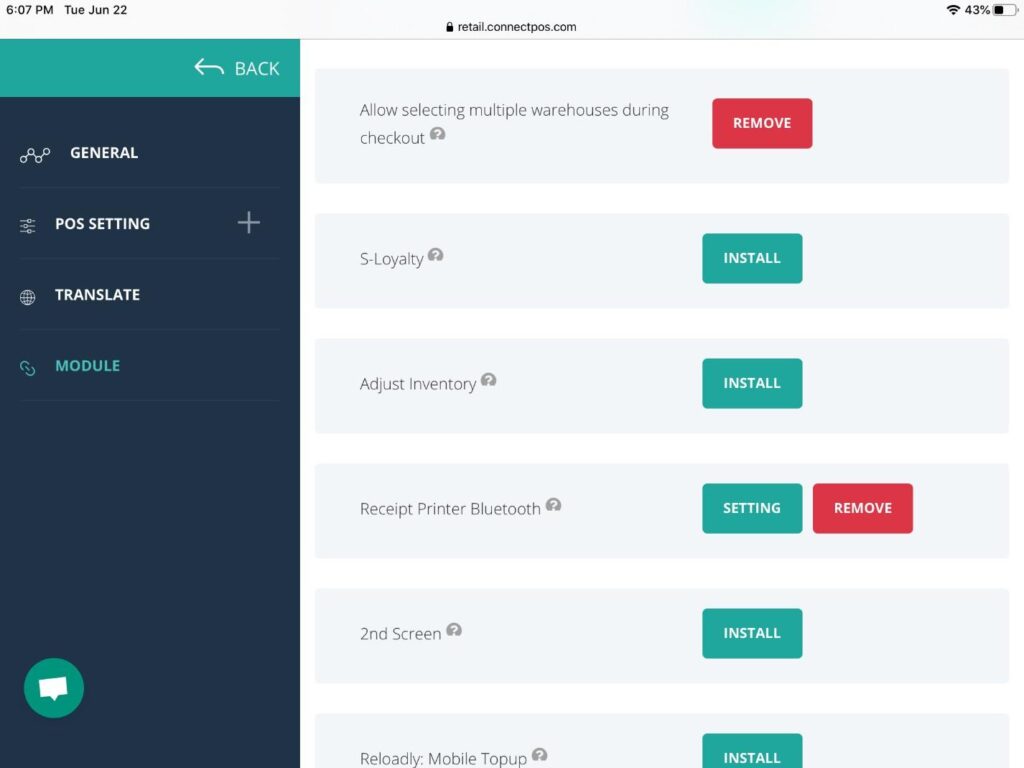
Step 8: Go to Menu > Settings > Module, and install the Receipt Printer Bluetooth.
Step 9: After the module is installed, hit Setting.
![Connecting Star Micronics Receipt Printer And Cash Drawer For PWA Version](https://www.connectpos.com/wp-content/uploads/2023/09/image-84-1024x768.jpeg)
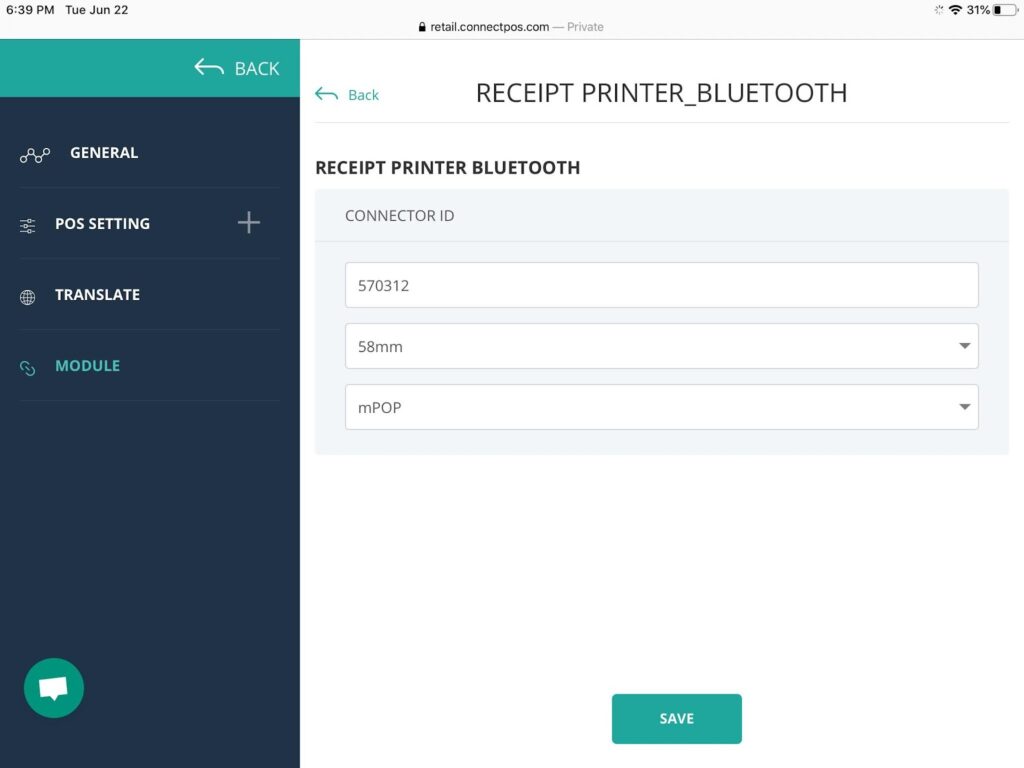
Step 10: Enter the Connector ID in the first field and adjust other settings.
![Connecting Star Micronics Receipt Printer And Cash Drawer For PWA Version](https://www.connectpos.com/wp-content/uploads/2023/09/image-85-1024x768.jpeg)
Step 11: Go to Menu > Order List and select an order to test printing.
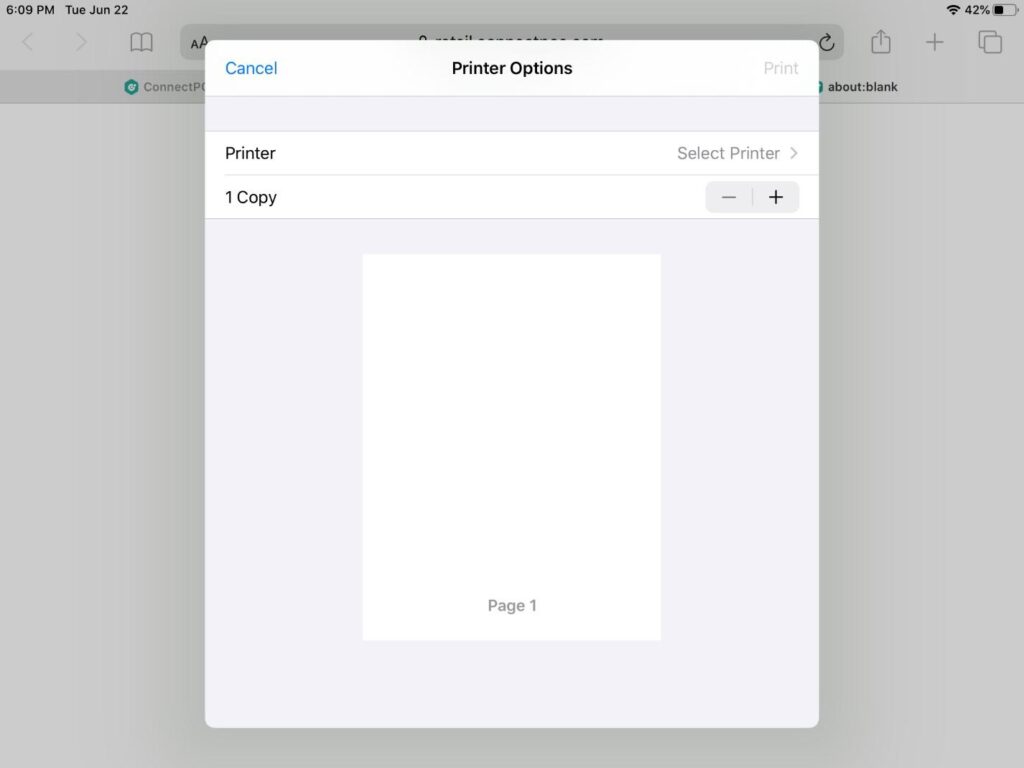
Step 12: Allow the pop-up window to open. If the Printer Options dialog doesn’t show, try this step again.
![Connecting Star Micronics Receipt Printer And Cash Drawer For PWA Version](https://www.connectpos.com/wp-content/uploads/2023/09/image-86-1024x768.jpeg)
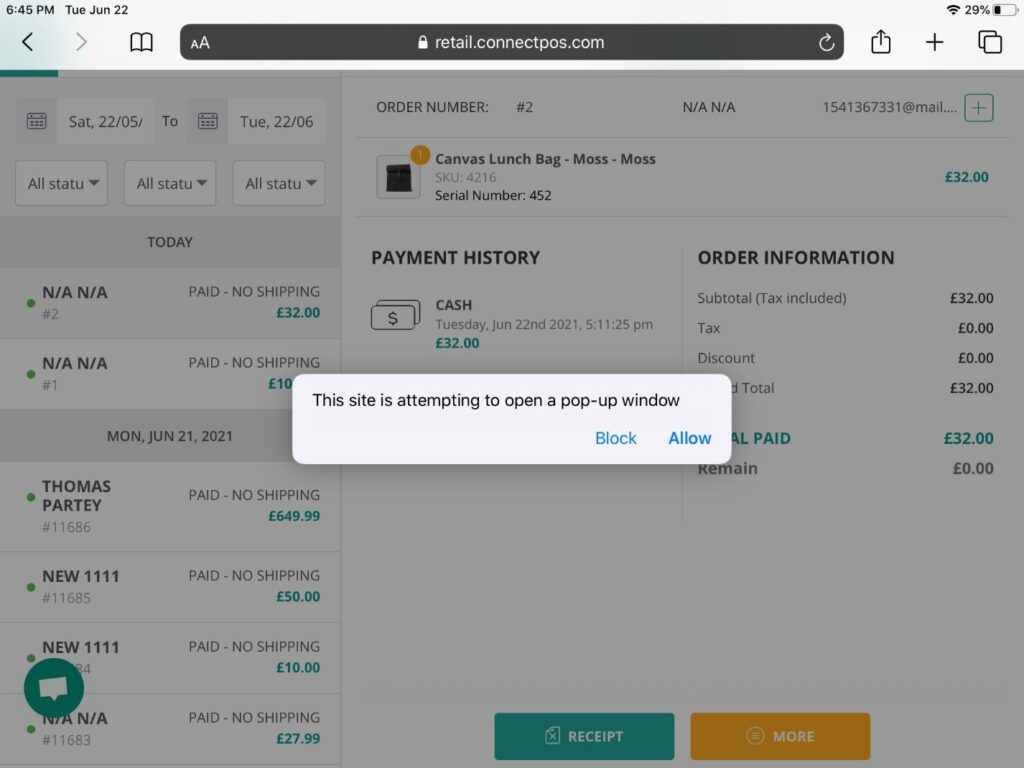
Step 13: Hit Cancel in the Printer Options dialog. After a few seconds, the receipt will be printed and the cash drawer will open.
![Connecting Star Micronics Receipt Printer And Cash Drawer For PWA Version](https://www.connectpos.com/wp-content/uploads/2023/09/image-87-1024x768.jpeg)
If you encounter any issues during the process, please contact us and we are always happy to assist!